tirsdag den 22. januar 2013

DIY - Spisesmæk/Baby Bib


I. Cut garment pieces from fabric as indicated on list of pattern pieces. Note - my pattern do not include seam allowances. Add 5mm seam allowances to all edges og garment pieces as you cut them out.

PATTERN PIECES
1. Bib - cut 3 pieces

MATERIALS:
1) vinyl  (fabric you use for tablecloths - also known as plastic, wipe-clean tablecloths and PVC tablecloths)
(2) cotton garment with different print 

(3) towels or velvet (for bibs below I have used velvet)
(4)  For edge finish use 4 cm. width binding (for the binding you can cut either from the ribbing or from the same knit as the rest of the garment). SEE edge finish DIY

As allways, all my patterns are for free, all you have to do is:
1. You have to be reader of this blog
2. Write me your email in comments, and i will send you pattern :)

2. Sew all pieces together. I have used my serger. You can also use sewing machine zigzag stitch.

3. Finish edges with knit binding. SEE edge finish DIY

------------------------------------------------------------------------------------------------------------------------

1. Print pattern and cut it.
As allways, all my patterns are for free, all you have to do is:
1. You have to be reader of this blog
2. Write me your email in comments, and i will send you pattern (as pdf - to be printed as A4):)


2. Cut garment pieces (3) from fabrics

(1) MATERIAL - VINYL


 (1) MATERIAL - VELVET


(1) MATERIAL - COTTON


2. Sew all pieces together. I have used my serger. You can also use sewing machine zigzag stitch.


3. Finish edges with knit binding. SEE edge finish DIY
For edge finish use 4 cm. width binding (for the binding you can cut either from the ribbing or from the same knit as the rest of the garment).


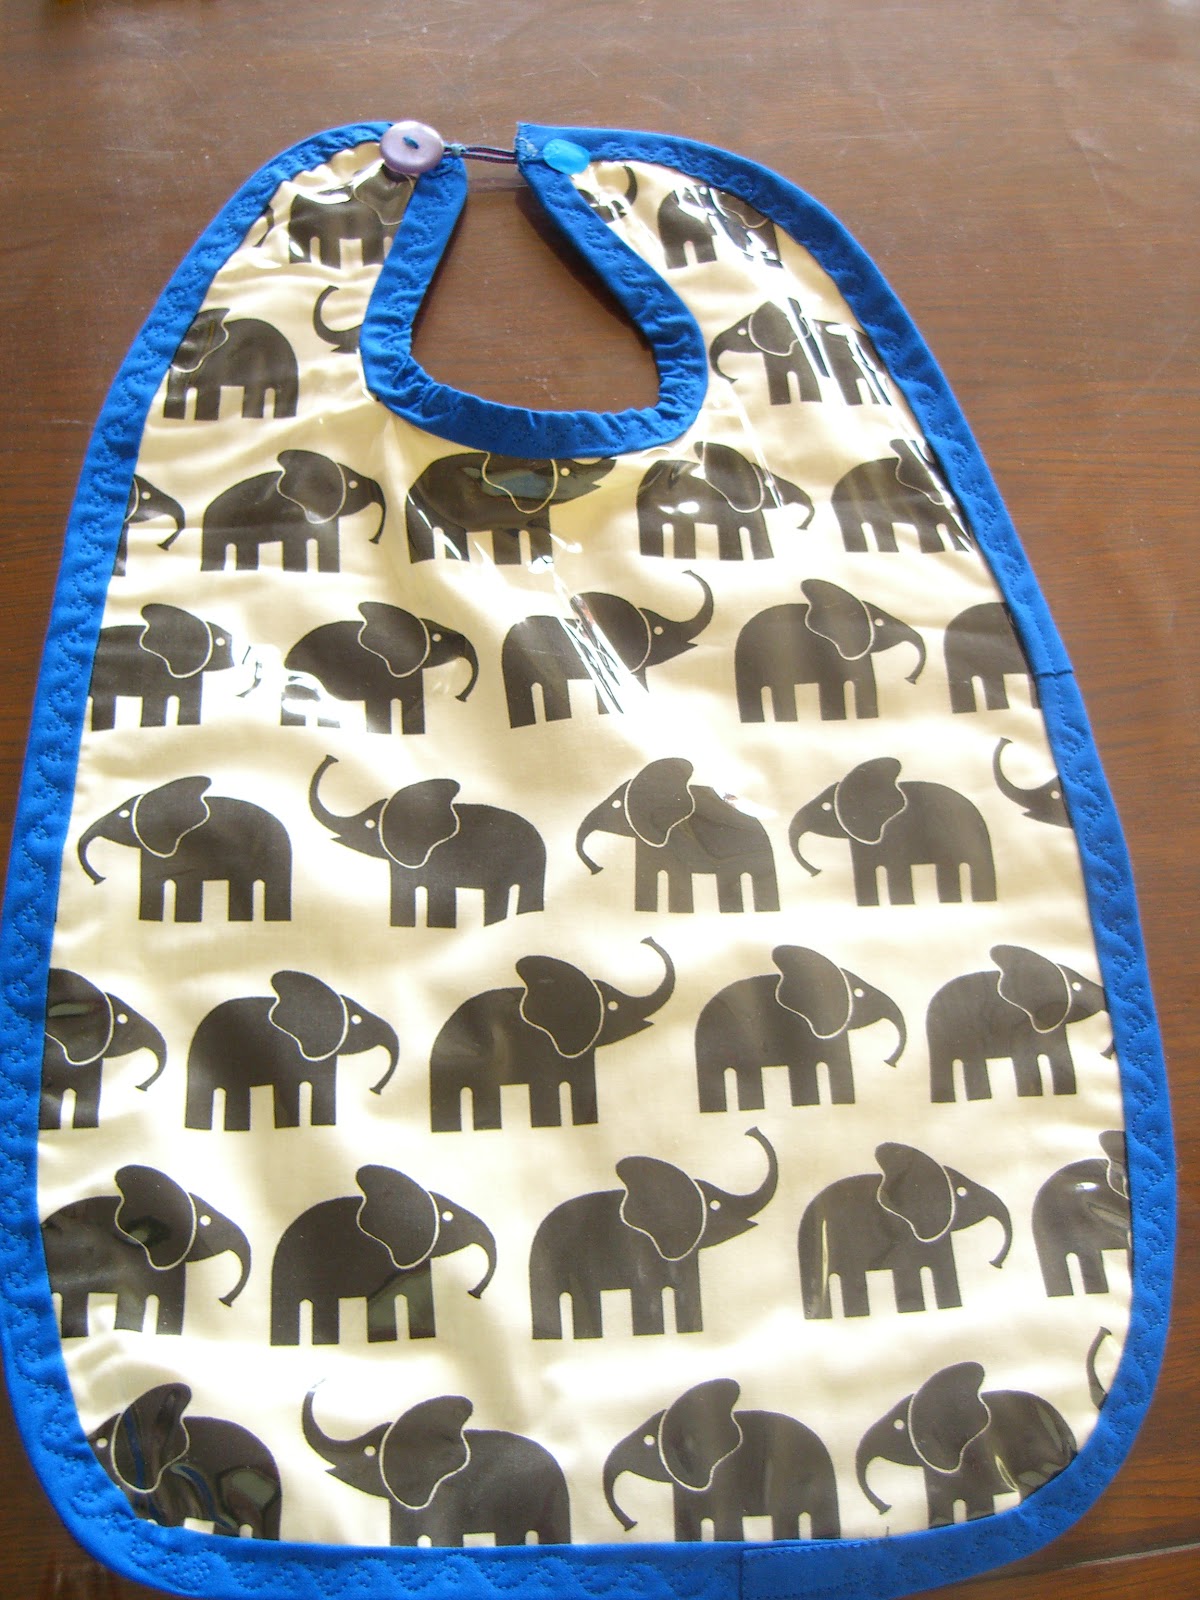
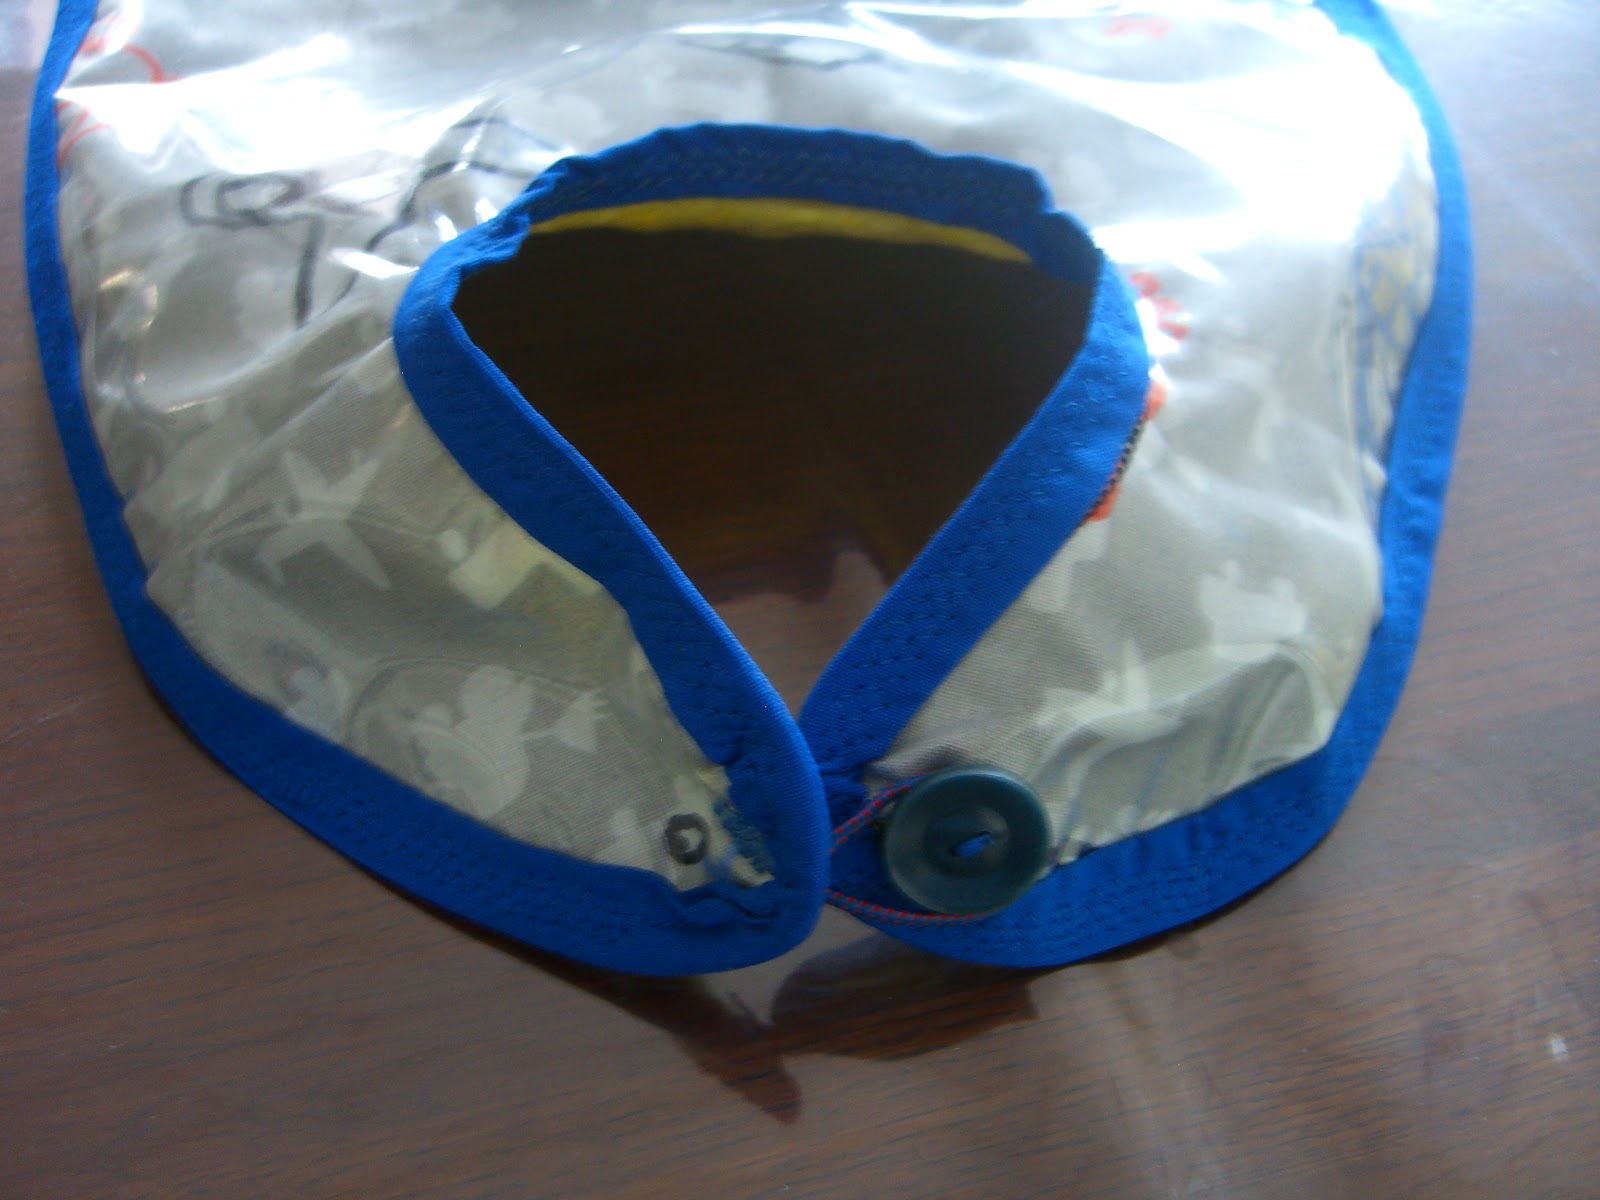
RESULT:


DIY - Edge Finish (the Binding) - Ribkanten DIY

This is DIY which shows how to do edge finish with the regular sewing machine .

The binding can be cut either from ribbing or from the same knit as the rest of the garment. The most suitable knits are those that do not curl. E.g. Rib knit, Interlock, Cotton.


1. Measure the length of the edge to be finished (=Ycm) on the pattern piece.


2. Determine the length of the binding.
a) if you use actual garment (stretch 20-30%), the length of binding is = 0,85 x length of the edge to be finished (Ycm)
b) if you use rib knit (stretch 40-50%), the length of binding is = 0,70 x length of the edge to be finished (Ycm)
c) if you use cotton, the length of binding is = 1,05 x length of the edge to be finished (Ycm)

Allway cut 5-6 cm more, because the elasticity of different knits tend to vary.

3. Cut the binding in the width of 4cm


4. Apply the binding
 a) Stitch one edge of binding to garments edge, rights sides together. Use straigth stitch on a regular sewing machine (or alternatively stitch on a serger)


b) Fold the other edge of binding over to wrong side of garment's edge and topstitch garment with:
                         1) Twin needle (from right side close to the edge)
                         2) Straight stitch (from right side close to the edge)
                         3) Application stitch (from right side close to the edge) - i normally use nr. 17 or nr.15 (see picture below)


extra 5. If you sew neckline of a T-shirt, stretch both the neck edge and the binding as you sew in order to produce an elastic seam.

fredag den 18. januar 2013

New family member - Serger Bernina 800 DL


So far, I like everything I've tried with this machine. It is my first serger, therefore everything is very new for me.  I was initially looking at the Janome. But . . . got Bernina from my dear husband as Christmas gift. It ties some really nice knots and is easy to use. This is a really great machine. It's quiet and its powerful and makes beautiful overlocked edges and seams.

Although it's not fully auto-threading, the lower looper is partially self- threading (the part that isn't easily reached has a mechanism for self-threading). The other steps to threading are easy-peasy. I'm able to do it without long tweezers (included with purchase) and I actually find it faster to rethread the whole machine than the cheat method of tying on new spools. But, you must thread the machine in the proper order or it won't form stitches properly. Always 1) upper looper 2) lower looper 3) needles. If your lower looper has to be rethreaded, you must pull the needle thread out from the interior of the machine or, again, the stitches won't form right. Remember that and you'll have no problems.

Tension is easily adjusted with the color coded slides. But it is indeed not easy. I spent a good an hour playing about with fabric scraps before I figured out what to use. It is important, before sewing to work it out for each different fabric if it has a really different thickness or texture.

Being that I've only owned it for less than a month, I haven't found anything that stands out as a negative. If I do, I'll keep you posted.

Conclusion
I've never used another serger, so I have no point of comparison, but I'm really happy with this machine.

torsdag den 17. januar 2013

Ny spisesmæk til Niklas/New Baby Bib for Niklas

Har lige syet den smarte spisesmæk til Niklas.
Mønstret  kan fås ganske gratis. Alt i skal gøre er følgende:
1) I skal være faste læsere
2) I skal huske at skrive en mail i kommentarfeltet, så jeg kan få fat på jer :)
Til info: mønstret skal udskrives som A4


As allways, all my patterns are for free, all you have to do is:
1. You have to be reader of this blog
2. Write me your email in comments, and i will send you pattern :)

And now in English. I have decided to continue my blog in english, as i can see that there are a lot of readers from different countries.


Today I’m going to share my first attempt at sewing baby bib (for eating).  It may seem that you cannot have too many bibs when you have a baby. This is especially true once a baby begins to eat solid foods. Bibs that fit snugly around the neck are easy to use and work well to protect a baby's clothing. I make these bibs out of:

(1) vinyl  (fabric you use for tablecloths - also known as plastic, wipe-clean tablecloths and PVC tablecloths)
(2) cotton garment with different print 
(3) towels of velvet (for the bib below I have used velvet)

This is a very simple project that will produce a generous collection of baby bibs.

It was SUPER easy and FAST!  From start to finish I was done with this project in 30 minutes, easily.


I will post picture DIY in few days :))


onsdag den 2. januar 2013

Useful link :) - Twin needle sewing/Tvillingenål

I am planing to try sewing jearsey....therefore now I am reading different articles how to do it. I desided to use Twin needle stitcking for hems.

My Singer instruction book only briefly covers twin needle stitching so I found some additional internet resources as well.

I have just found very useful link about Twin needle sewing.

http://www.sewing.org/files/guidelines/11_227_twin_needle_sewing.pdf

To sew with a twin needle, your sewing machine must have:
  • zigzag capability
  • throat plate that has a hole wide enough for the double needle
  • 2 thread spool holders
  • Application foot
REMEBER!!! - You are stitching on the RIGHT side of the fabric.

fredag den 14. december 2012

Overlocker - måske Janome 990 D??

Jeg er på udkig efter en overlocker - fordi jeg har kun en symaskine. Til daglig arbejder jeg som analytiker, derfor jeg simpelhen eeeeellllsssker analyser aaaalt :)))....så har lige lavet en lille analyse af forskellige overlocker (der skal siges, at jeg er på udkig efter en billig overlocker)...og jeg har lige ønsket som en Jule gave - JANOME 990 D (synes den er bedst til prisen).

Hvis i er på udkig efter en ny overlocker eller symaskine, jeg kan anbefale:
http://sewing.patternreview.com/ - her kan i finde mange anmeldelser om forskellige symaskiner og overlocker (dog ikke af Janome 990 D)

Lidt om JANOME 990 D:


Billegste i DK er til 2995 kr. på www.symaskine.dk og http://www.kjaergaard-symaskiner.dk

Pris analyse:
Italien - 589 Eur - 4394,71 Kr.
Belgien - 449 Eur - 3350 kr.
www.strima.com - 374.35 EUR - 2790 Kr
Tyskland - 324 Eur - 2417 Kr.
http://www.symaskineland.dk - 3400 Kr.


Blå tekst - info fra www.symaskine.dk, sort teks - mine kommentarer :)

Tilbuddet inkluderer et BONUS-KIT (Værdi op mod 1.000kr) der indeholder:
Syguide
Perlefodssæt - på engelst beading foot. Youtube video om beading foot - se her.
Blindstingsfod - på engelsk Blind Stitch Foot . Youtube video om Blind Stitch Foot  - se her.
Paspelfod 4 mm og 5 mm - på engelsk piping food. Youtube video om piping food - se her.

ML 990D er en mekanisk JANOME overlock, med en stinghastighed op til 1300 sting i minuttet.

Gode egenskaber, som:

  • elektronisk hastighedskontrol,

  • farvekodet trådguide

  • enkelt at slå overkniven væk.

  • Instruktions DVD følger med i købet og garanterer dig om et professionelt resultat allerede fra starten.


Denne mekaniske overlocker syr 3- og 4-trådede sømme og du vil få et professionelt resultat lige fra start. Til forskel fra en almindelig symaskine, som syr mer to tråde, kan overlockeren sy med fire eller tre ad gangen. Janome 990D er firetråds maskine, som også kan sy med tre tråde. Jeg har læst, at en firetrådet overlock bruges til både faste og strikkede stoffer samt vævede stoffer med træk, som syes sammen, kantes og klippes i en arbejdsgang. To- eller tretrådet overlock bruges til kantning af trævlekant.

Du kan vælge imellem 11 sømme såsom:
- fladlock - på engelst Flatlock
- rullesøm
- stræksøm
På sømvalgspanelet er nemt at justere til de forskellige sømme.

Du kan justere stinglængen imellem 1 – 5 mm og skærebredden imellem 2 - 5,7 mm.

Instruktions-DVD´en får dig hurtigt i gang! Jeg har læst, at for overlocker - brugsanvisning er meget vigtig.

Ektra info: jeg har læst at Janome 990D:
- "Ideal for scrapbooking - technique that allows to decorate photos, postcards, calendars etc."